Validation OS: The Secret “Windows 11 Lite” (Too Lite to be Usable?)
What is Microsoft Validation OS?
Microsoft Validation OS is the absolute lightest, most heavily stripped-down version of Windows 11 in existence. Developed officially by Microsoft for factory assembly lines, it is a command-line-based environment used to diagnose and stress-test bare-metal PC components (CPU, RAM, Storage) before a standard consumer OS is installed.
If you are a PC enthusiast, a gamer, or an IT pro, you have probably searched for ways to debloat your system. The internet is flooded with custom, stripped-down ISOs like Tiny11 or Ghost Spectre. But what if Microsoft had their own, official “Windows 11 Lite” hiding in plain sight?
They do. It is called Validation OS. But before you rush to install it on your gaming rig, there is a massive catch: it is so lightweight that it might be completely unusable for the average user.
Here is the truth about Validation OS, how to build a superior alternative for PC diagnostics, and the true secret to a bloat-free Windows daily driver.
The Reality Check: Is Validation OS “Too Lite?”
At first glance, Validation OS sounds like a dream. It skips all the telemetry, strips out the Microsoft Store, removes Edge, and boots incredibly fast from a simple USB drive.
However, it is engineered strictly for factory hardware validation, not daily use. Here is why it fails as a consumer operating system:
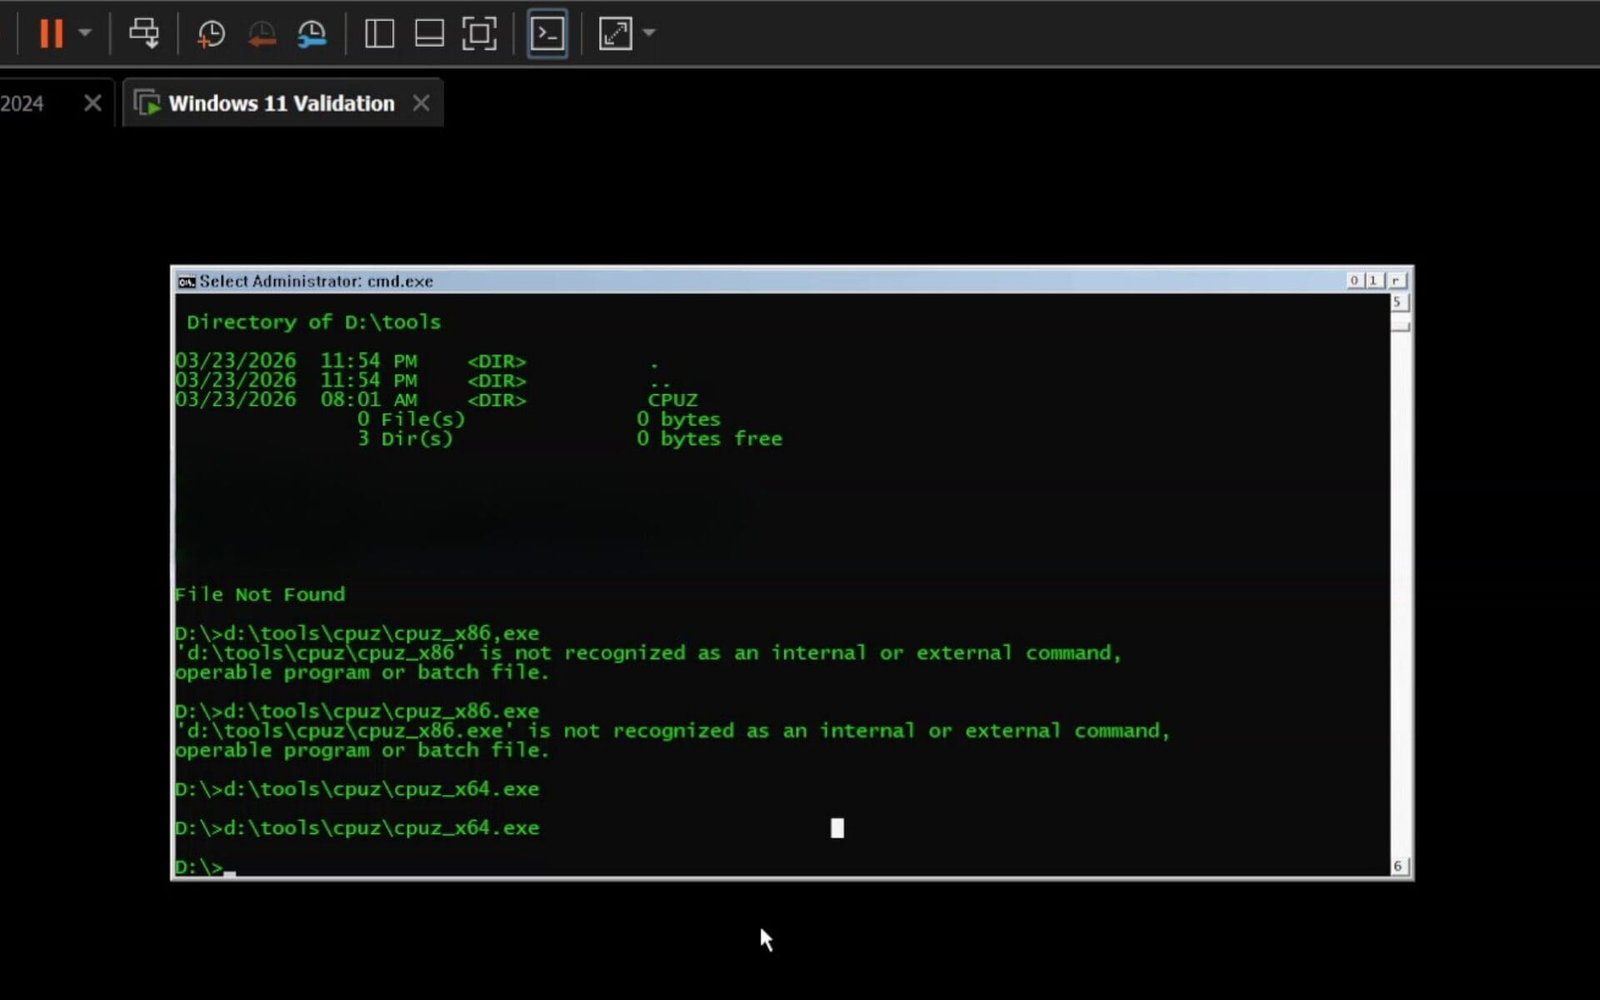
- Zero Graphical User Interface (GUI): There is no desktop, no taskbar, and no Start menu. When you boot Validation OS, you are staring at a black command prompt window.
- Extreme App Incompatibility: You cannot simply download .exe files and run them. Running standard portable apps (like CPU-Z or HWMonitor) requires injecting complex dependencies directly into the .wim image file.
- No 3D Graphics Support: It uses a basic Microsoft display driver, meaning gaming, video editing, or even hardware-accelerated UI rendering is impossible.
Validation OS answers the question, “How much can we delete before Windows stops being Windows?” It is a fascinating engineering tool, but the learning curve to use it for simple hardware stress testing is unnecessarily brutal.
The Better Alternative: A Custom WinPE Diagnostic USB
Since Validation OS is too hardcore for everyday PC diagnostics, we built a better, 1-click alternative. By using a custom Windows Preinstallation Environment (WinPE), you get the ultra-lightweight benefits of a factory testing tool, but with a familiar mouse-driven interface.
(Check out our full YouTube video guide embedded above to see this custom OS boot on bare metal!)
Here is how you can build your own automated diagnostic USB to stress-test any computer before you ship it, buy it, or use it.
Step 1: The Core Files
- Download and extract Win10XPE.
- Download an original Windows 10 or Windows 11 ISO (The 22H2 build is recommended for maximum stability).
- Mount the ISO on your current system.
Step 2: Injecting the Portable Benchmark Tools
Instead of manually launching apps, we want a fully automated assembly-line experience.
- Download the portable versions of your favorite tools, for example : HWMonitor, CPU-Z, CrystalDiskInfo, Memtest 64, CrystalDiskMark, and OCCT.
- Open your extracted Win10XPE folder and navigate to: Custom \ x64 \ AdditionalFiles \ Program Files.
- Paste your portable app folders here. (Keep the folder and .exe names simple).
Step 3: The 1-Click Automation Script
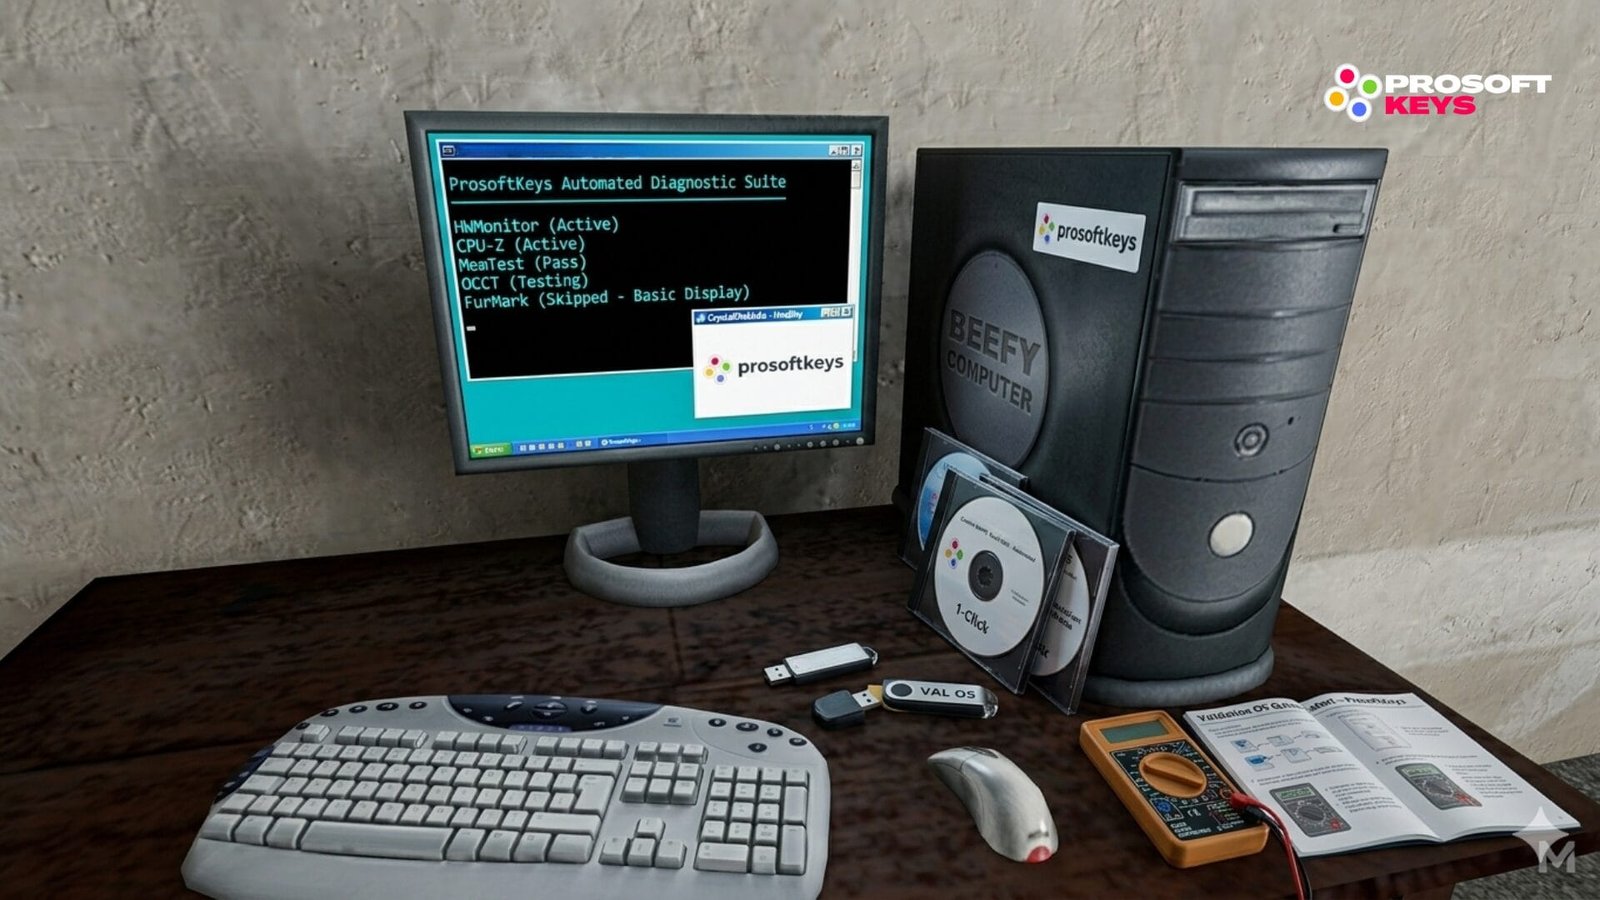
To mimic a true Validation OS, we use a batch script to automate the process. HWMonitor will launch first to track thermals, followed by the rest of the diagnostic suite.
Create a new text document in that same Program Files folder, name it AutoBench.bat, and paste this code (adjust it following your tools paths, drive letter etc. ) :
Administrator: ProSoftKeys Diagnostic Suite
@echo off
title ProSoftKeys Automated Diagnostic Suite

echo ==================================================
echo       AUTOMATED HARDWARE STRESS TEST INITIATED
echo ==================================================
echo.
echo Launching HWMonitor for background thermal tracking...
start "" "X:\Program Files\hwmonitor\HWMonitor_x64.exe"

:: Giving HWMonitor 3 seconds to fully open before starting the sequence
ping 127.0.0.1 -n 4 > nul

echo.
echo Please close each application to proceed to the next phase.
echo.

echo [1/5] Launching CPU-Z (System Identification)...
start /wait "" "X:\Program Files\cpuz\cpuz_x64.exe"

echo.
echo [2/5] Launching CrystalDiskInfo (Drive Health Check)...
start /wait "" "X:\Program Files\DiskInfo\DiskInfo64.exe"

echo.
echo [3/5] Launching CrystalDiskMark (Storage Benchmark)...
start /wait "" "X:\Program Files\DiskMark\DiskMark64.exe"

echo.
echo [4/5] Launching MemTest64 (RAM Error Check)...
start /wait "" "X:\Program Files\MemTest64.exe"

echo.
echo [5/5] Launching OCCT (CPU Power/Stability Test)...
start /wait "" "X:\Program Files\OCCT.exe"

echo.
echo ==================================================
echo    STRESS TEST COMPLETE. NO CRASHES DETECTED.
echo                      [ PASS ]
echo ==================================================
echo.
pause
Step 4: Compiling the OS and Hardware Limitations
Select Build Core on the left menu (We highly recommend checking WinXshell instead of standard Explorer for better stability during heavy CPU testing).
Crucial Step: Ensure the “Add your custom folder” box is checked. This is the mechanism that injects your benchmark tools and the
AutoBench.batscript into the final OS.In the ISO Sourcing section, fill out the paths exactly like this:
Source Directory: This is simply the drive letter of your mounted, original Windows 10 or Windows 11 ISO (e.g.,
E:\orF:\).Target Directory: Choose the folder on your computer where you want the final, custom OS to be generated.
ISO File: This is the full path and name for your new ISO file. Pro-Tip: If the builder fails to generate the ISO automatically, manually type out the full file path here to force the compilation.
Hit the Play button and let the builder compile your custom environment.
Once your custom ISO is generated, you can flash it exclusively using Rufus or drop it onto a Ventoy drive.
The True “Windows 11 Lite” for Daily Use
WinPE is the undeniable king of portable diagnostics. But what happens after your hardware passes the test?
If you clicked on this article searching for a bloat-free, aggressively stripped-down version of Windows 11 to install as your permanent daily driver, Validation OS and WinPE are not the answer. Standard consumer Windows 11 Home or Pro is filled with pre-installed apps, forced Edge integrations, and background telemetry that drains system resources.
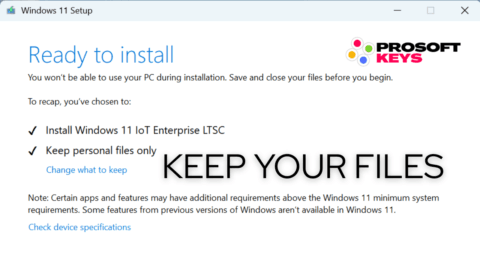
For power users, gamers, and sysadmins who want a hyper-optimized OS, the absolute sweet spot is Windows 11 IoT Enterprise LTSC 2024.
Why IT Professionals Prefer IoT LTSC:
- Zero Bloatware: No forced app integrations or unnecessary consumer features.
- Rock-Solid Stability: It receives vital security patches but skips the mandatory feature updates that often break system configurations.
- Maximum Performance: Lower background process counts mean significantly better idle RAM usage, thermal performance, and gaming frame rates.
It is the cleanest, most professional version of Windows available today : the actual Windows 11 Lite you were looking for.
Ready to unlock the true potential of your freshly validated hardware?
Secure your Windows 11 IoT Enterprise LTSC 2024 product key today.