How to Activate Windows 10/11 with OEM and Retail Keys
Looking to activate your copy of Windows 10 or Windows 11 using an OEM or Retail key? We’ve made it easy! This step-by-step guide will show you the quickest way to activate Windows, whether you’re using an OEM key, retail key, or upgrading your system.
Quick Answer: How Do I Activate Windows?
To activate Windows:
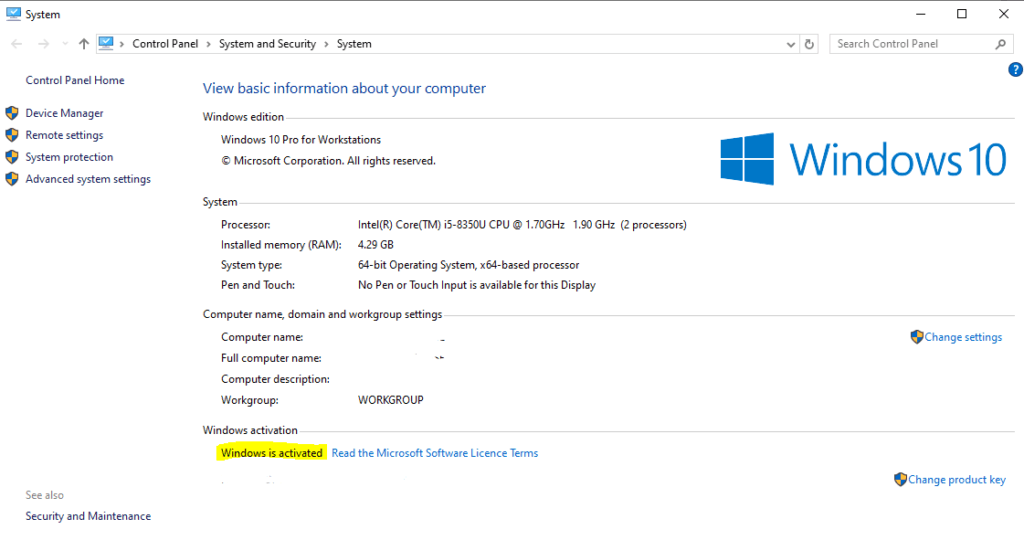
- For Windows 10/11: Go to Settings > Update & Security > Activation, then enter your product key and follow the prompts.
- Windows will automatically connect to Microsoft’s servers and verify the key.
Scroll down for detailed steps for both Windows 10 and Windows 11!
How to Activate Windows 10: Step-by-Step Guide
Follow these simple steps to activate Windows 10 with your OEM or Retail key:
- Open Settings: Click the Start button and select Settings (the gear icon).
- Go to Activation: Navigate to Update & Security, then click on Activation in the sidebar.
- Enter your Product Key: Click Change product key and enter your 25-character Windows product key.
- Activate Windows: Windows will automatically verify the key with Microsoft’s servers. If successful, your Windows will be activated.
Frequently Asked Questions for Windows 10 Activation
Do I need to reactivate Windows if I upgrade my hardware?
If you replace major components like the motherboard, Windows 10 may require reactivation. For OEM keys, which are tied to the first hardware installation, you might need a new key.
Watch Our Video Tutorial for Windows 10 Activation
Still have questions? Check out our video guide on how to activate Windows 10 below:
How to Activate Windows 11: Step-by-Step Guide
Here’s how to activate Windows 11 with your OEM or Retail key:
- Open Settings: Click the Start button and select Settings (the gear icon).
- Go to Activation: In Settings, choose System, then click on Activation from the options list.
- Enter your Product Key: Click on Change product key and enter the 25-character product key.
- Activate Windows: Windows will contact Microsoft servers, verify the product key, and activate your version of Windows 11.
OEM vs Retail Windows Keys: What’s the Difference?
If you're wondering whether to use an OEM or Retail key for Windows activation, here's a quick breakdown:
- OEM Keys: OEM (Original Equipment Manufacturer) keys are tied to a single device. Once activated, you cannot transfer the key to another computer.
- Retail Keys: Retail keys, on the other hand, offer more flexibility. They allow you to transfer the Windows license to a different device, making them ideal if you upgrade your hardware frequently.
Frequently Asked Questions for Windows 11 Activation
Do I need an internet connection to activate Windows?
Yes, you’ll need to be connected to the internet to activate Windows 11, as the product key needs to be verified through Microsoft’s servers.
What happens if I don’t activate Windows 11?
If Windows isn’t activated, you’ll have limited personalization options, and a watermark will appear on your desktop prompting you to activate your copy. Functionality may also be restricted over time.
Conclusion: Activate Your Windows Easily with ProSoftKeys
Activating your copy of Windows 10 or Windows 11 has never been easier. Whether you're using an OEM or Retail key, just follow our step-by-step guide for a seamless process.
Need a key? Head over to ProSoftKeys for great deals on Windows 10 and Windows 11 product keys today!
Get Your Windows Key Now!


